This tutorial is for all you other eco-friendly people out there who are looking for an alternative to wrapping paper. These bags are a lot of fun to make. They are completely reversible so you don't have the same prints from year to year. I've made two sizes, medium and small. I'll give the measurements for both sizes during the tutorial. Enjoy!!
Materials:
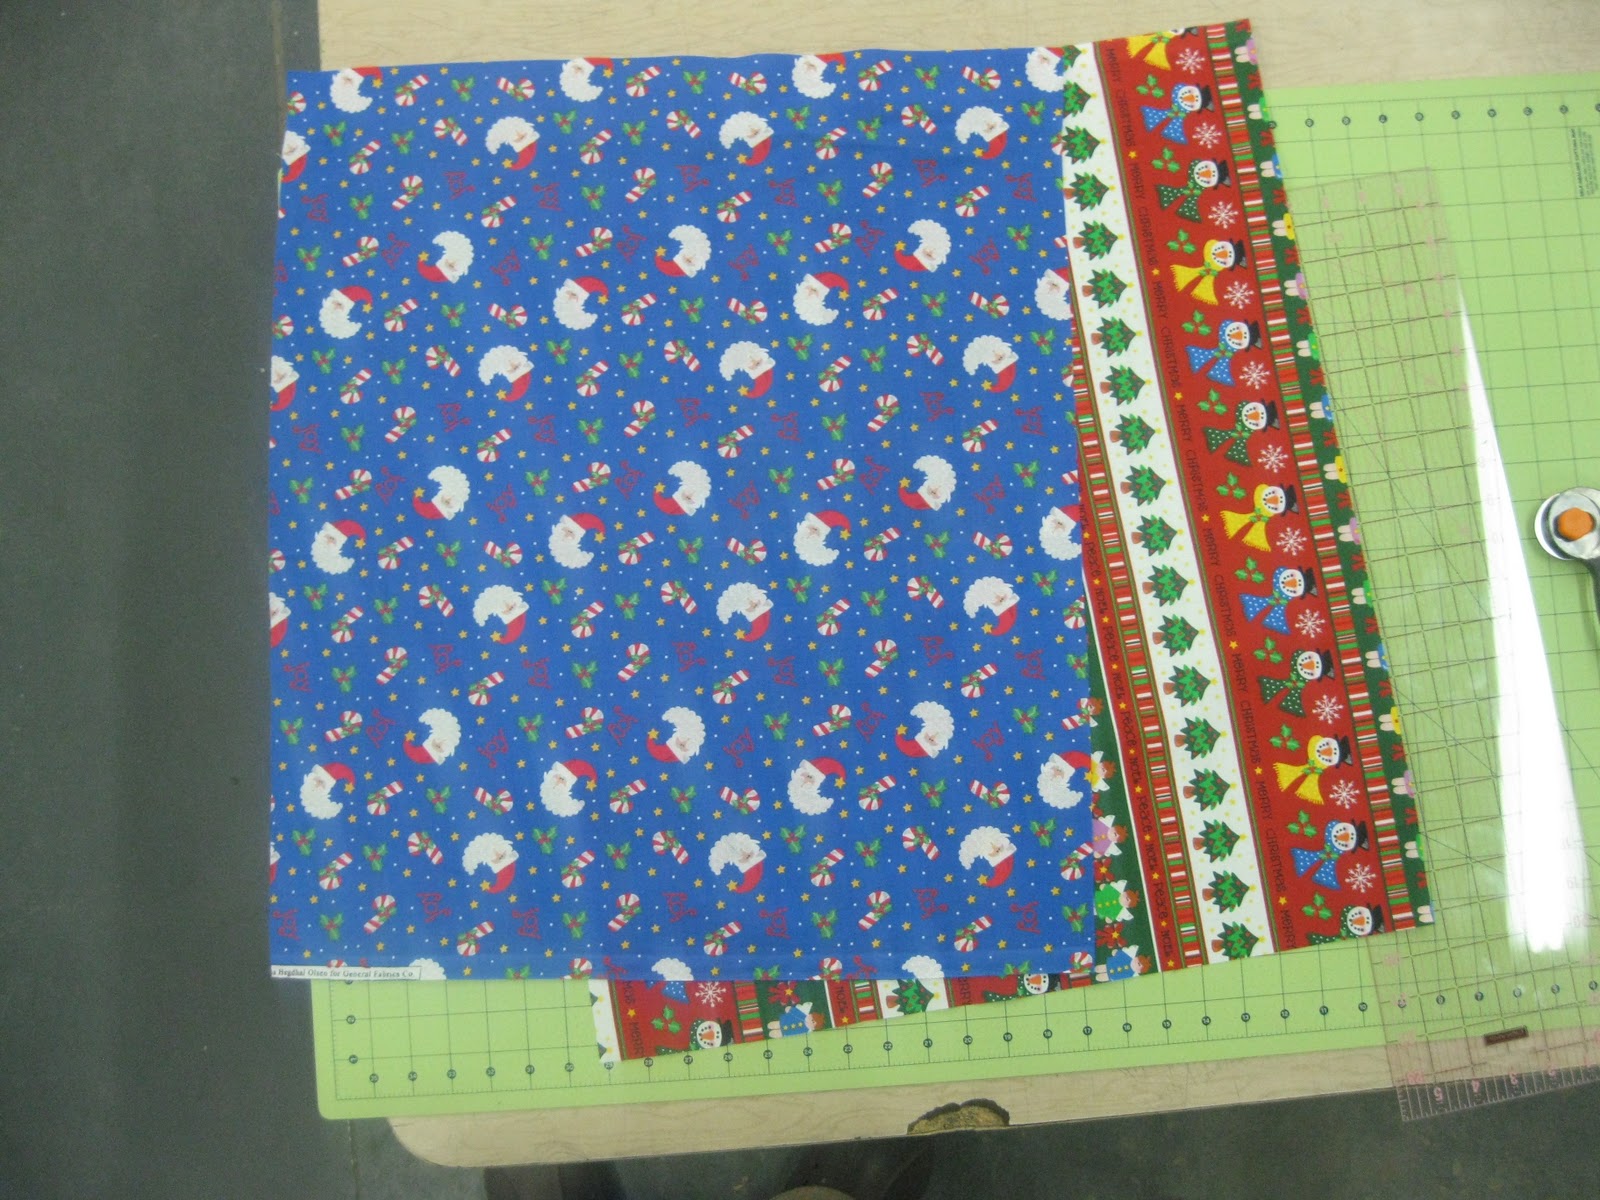
1/2 yd. each of 2 coordinating fabrics
ribbon, cording, shoe laces, or anything else you can use for a drawstring.
Thread
Cut 2 pieces of fabric in whatever theme you like. (I'm using mine for Christmas, but I also made some for birthdays.) Medium Bag: 18x24 in. Small: 12x20 Make sure you press your fabric before you cut it.
Put the fabric right sides together and sew all the way around (1.4 in. seam), leaving a 3in. opening at the bottom.
Once sewn, clip the corners. Then, turn the bag right sides out.
Press the edge of the fabric.
When you get to the opening, fold the selvage in and press.
This will be sewn closed later.
Use your ruler to mark where to put your button holes. You need to make 12 buttonholes. (Medium Bag: 2 in. apart, starting 1 in. from the edge. I marked mine 4 in. from the top of the bag. Small Bag: 1 1/2 in. apart, starting 1 in. from the edge. The small bag was marked 3 in. from the top of the bag.)
Sew each buttonhole. The width of the buttonhole depends on how wide your ribbon or cording is. On my medium bag they were 3/4 in. On the small bag they were 1/2 in.
Fold the fabric in half, widthwise.
Sew along the side and bottom of the bag. Make sure you sew close to the edge (about 1/8 in.)
Cut buttonholes open and thread the cording through. I started in the middle of the bag because that is where I wanted the bow.
Insert your gift.
Pull and tie the cording. Then, enjoy!
Please let me know if you have any questions about this tutorial.