Living in Asia, they use drawstring pouches for numerous things. I have found that I use them all the time now as well. They are really easy to make and are great to give as gifts (or use as the wrapping). Here is a tutorial on how I make my bags.


Start by measuring out your fabric. You can make it pretty much any size you want. For this tutorial, I cut the fabric 8x19.5 in. If you have a serger (overlock), serge around all four sides of the fabric.

Use a marking pen or chalk to mark the short edges of your fabric. Draw one line at 1/4 in. (creating line A), one line 1 in. from line A (creating line B), and the last line 1 in. from line B (creating line C). Then, make tick marks 1 in. from each edge.

When you're done marking, your fabric should look like this. Repeat for the other short edge of the fabric.

Fold and press the corners using the tick mark and line C.

Fold and press line A.

Fold and press the new top edge along line C. Repeat for the other end.

Unfold the fabric. Sew very close to the edge, where you folded in the corners. (Sew along all 4 corners)

Refold the fabric and pin. Sew close the the edge of the fold. Make sure you back stitch at the beginning and end of the seam. Repeat for the other end.

It should look like this when you are done.

If you did not serge (overlock) around your fabric in the beginning, zigzag stitch along the two raw edges.

Fold the bag in half. Make sure you line up the TOP edges! Place a few pins to keep everything in place.

Sew along the edge, starting at the top. Make sure you back stitch at the beginning and end of the seam. Repeat for the other side.

For crisp corners, trim the bottom two corners. Turn the bag right side out.

This is what it should look like.
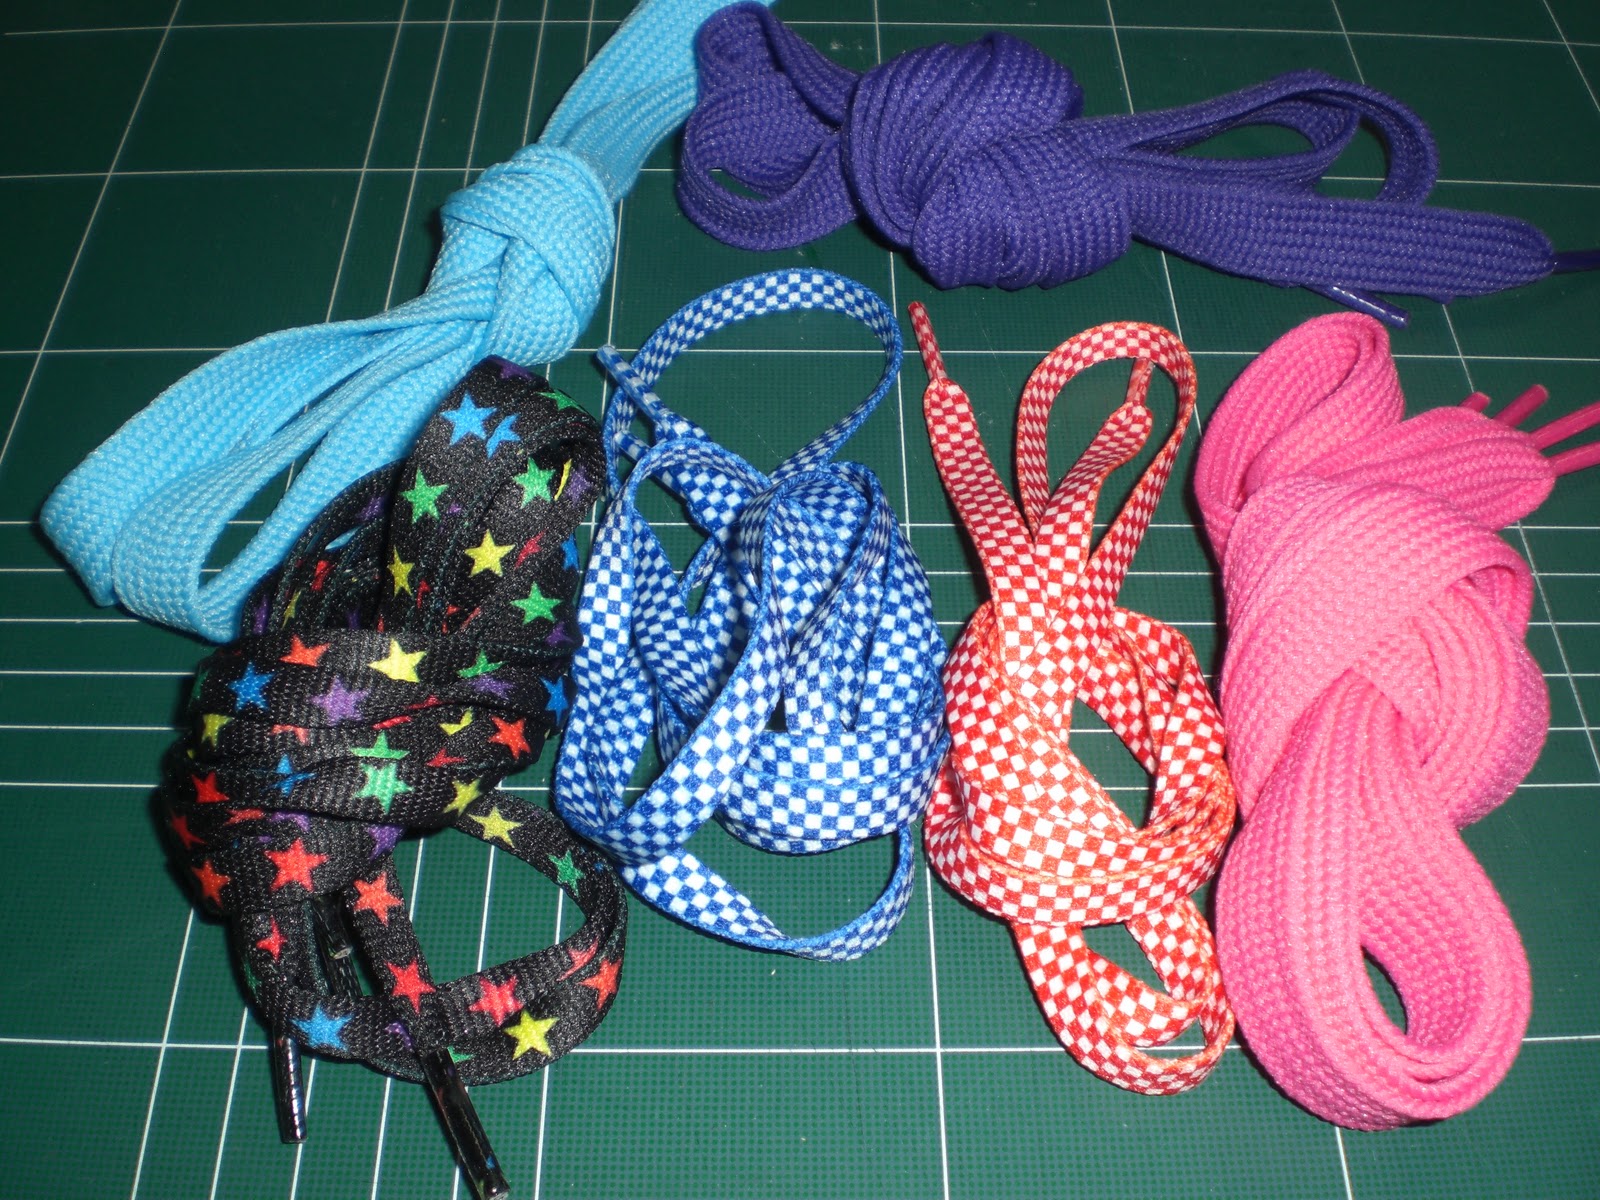
Pick what you want to use for the drawstrings. I use a variety of items from cording to ribbon. I have also found some very fun shoelaces at the dollar store (pictured above).

For this pouch, I chose cording that I found at the sewing store. To figure out how long the cord should be, measure the width of your bag. Use this formula: W+W+6= your cord. So, my bag is 7.5 in wide (7.5+7.5+6=21) I'll need 2 cords that are 21 in. long.


When you are done, it should look like this.

You can knot the cord and stop here. I added some beads to this bag to add a little pizzaz.

Taadaa! All done. Now, wasn't that easy!!
Great tutorial! I like your method for finishing off the openings of the casings.
ReplyDeleteI linked to your tutorial over at Craft Gossip Sewing:
http://sewing.craftgossip.com/tutorial-easy-drawstring-pouch/2011/04/21/
--Anne
Thank you so much Anne! I'm so glad to be posted on craftgossip!!
ReplyDeleteI, too, saw this on craftgossip. I love the way you make your casing. Genius!
ReplyDeleteSteph I am so proud of you!
ReplyDeleteHow CUTE!!! I'm just learning to sew so I'm going to try this one as soon as I have the opportunity!!!
ReplyDeleteI'm following you from The Girl Creative Linking Party. Please follow me at
www.daughterbydesign.blogspot.com
This comment has been removed by a blog administrator.
ReplyDeletetes creations sont splendides , on ne se lasse pas ,
ReplyDeletebon mardi
bisous frifricreations.
Outstanding work author. Knowledgeable enough. We will surely share your work. Anyway, If you are interested and looking for website development you may visit this website.
ReplyDeletelittle bags for weed
Good readd
ReplyDelete